Some links on PCFix411 may earn a commission from GearReady, software partners, or Amazon Associates at no extra cost to you.
You do not need a professional repair shop to handle basic PC maintenance, upgrades and diagnostics, but the right tools make the work safer and easier. A good home toolkit should help you open computers without stripping screws, protect components from static discharge, clean dust, organize small hardware and diagnose common electrical or software problems.
This guide focuses on tools that are genuinely useful for desktop and laptop work rather than filling a toolbox with specialty items you may never use.
1. Precision Screwdriver Set
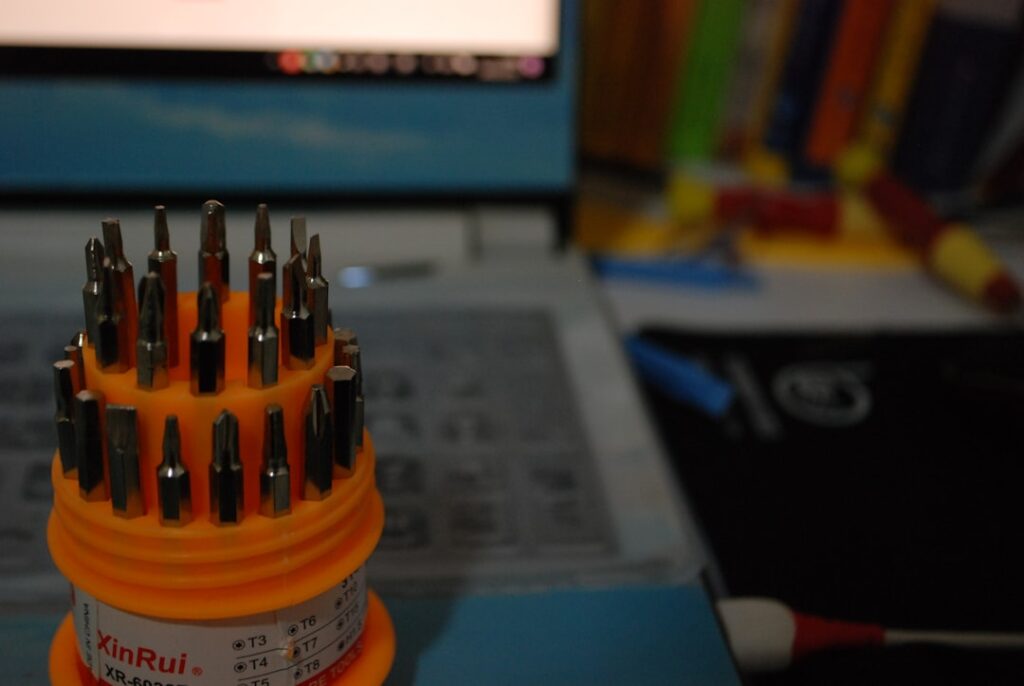
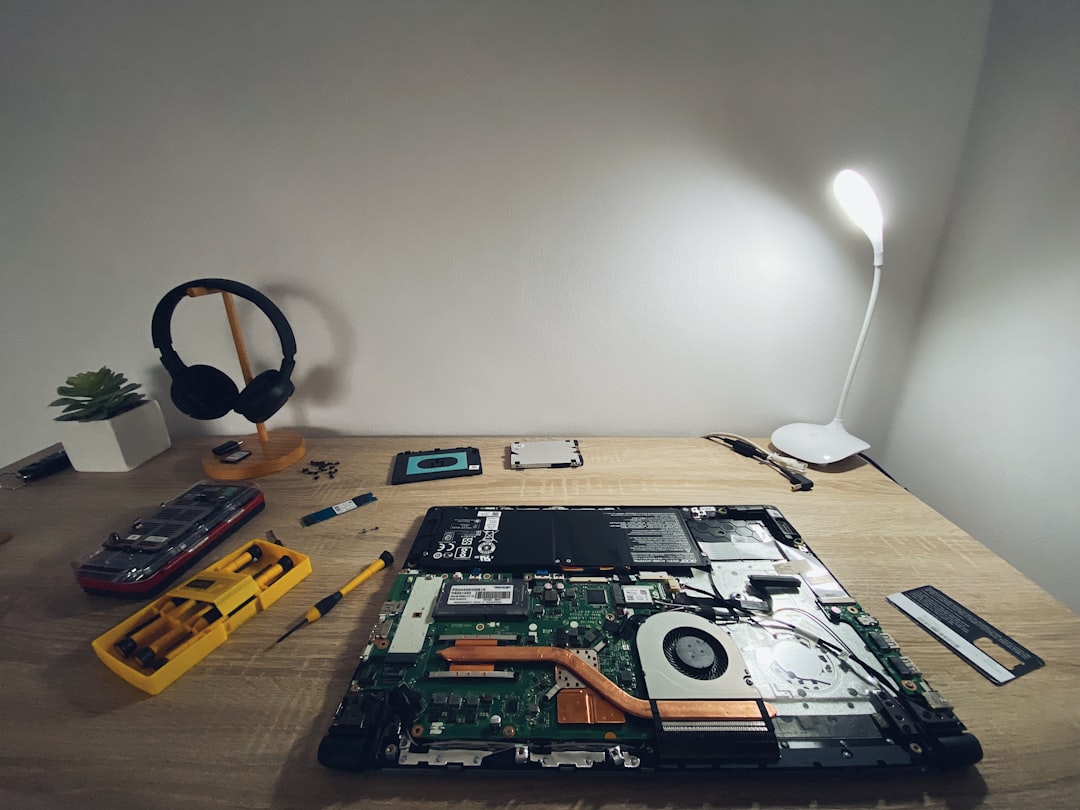
A quality precision screwdriver set is the foundation of computer repair. Look for Phillips bits in several small sizes plus Torx and other bits commonly used by laptop manufacturers.
Magnetized tips can help hold small screws, but keep strong loose magnets away from sensitive legacy magnetic media. Good bits should fit the screw head tightly; using the wrong size is how screws get stripped.
2. Standard Phillips Screwdriver
Desktop cases, power supplies, expansion cards and drives often use larger Phillips screws than laptop hardware. Keep a normal #2 Phillips screwdriver alongside the precision set.
3. Plastic Spudgers and Opening Picks
Laptop bottom covers and plastic clips should be separated with nonconductive plastic tools rather than metal screwdrivers. A spudger or opening pick reduces the chance of gouging the case or shorting a board.
4. ESD Wrist Strap
Electrostatic discharge can damage components even when you do not feel a spark. An antistatic wrist strap connected to a proper ground point is useful when handling bare memory modules, motherboards, expansion cards and processors.
At minimum, work on a non-carpeted surface, discharge yourself before touching components and avoid unnecessary contact with exposed circuitry.
5. Antistatic Mat
A grounded ESD mat provides a controlled work surface and helps keep small components organized. It is more valuable for frequent repair work than for one occasional RAM upgrade, but it is a worthwhile addition to a dedicated bench.
6. Bright Flashlight or Headlamp
Small motherboard labels, internal connectors and laptop screws can be hard to see. A compact LED flashlight or headlamp is one of the cheapest tools that prevents mistakes.
7. Small Parts Tray
Use a magnetic parts tray, compartment organizer or labeled containers to keep screws separated by location. Laptop screws can have different lengths; installing a long screw in the wrong hole can damage the case or even the board underneath.
8. Tweezers
Fine-tip ESD-safe tweezers help with tiny screws, jumpers, ribbon-cable tabs and connectors in tight spaces. Do not use them to force connectors that are designed to release with a latch.
9. Compressed Air or Electric Duster
Dust blocks airflow and can increase temperatures. Canned compressed air works for occasional cleaning; an electric duster makes sense for frequent maintenance.
Hold fan blades in place while cleaning so they do not spin at extreme speed. Take the computer outside or to an easy-to-clean area when removing heavy dust.
10. Soft Brush
A clean, soft antistatic brush helps loosen dust from fans, heatsinks and case surfaces. Avoid ordinary household brushes that may create static or shed material into the computer.
11. Isopropyl Alcohol
High-purity isopropyl alcohol is useful for cleaning old thermal compound and some electronics surfaces. Use it sparingly with lint-free material and allow everything to dry completely before power is restored.
12. Lint-Free Wipes or Coffee Filters
For removing thermal paste, a lint-free wipe is preferable to tissues that leave fibers behind. Plain paper coffee filters are a common inexpensive option for occasional work.
13. Thermal Paste
If you remove a CPU cooler, replace the thermal interface material unless the cooler has a fresh factory-applied pad or compound. More paste is not better; use an amount appropriate for the processor and cooler design.
14. Thermal Pads—Only When Required
Laptops, graphics cards and some SSD heatsinks use thermal pads of specific thicknesses. Do not replace them casually. The wrong thickness can prevent proper contact elsewhere.
15. USB Flash Drives
Keep several known-good USB drives for Windows installation media, BIOS updates, hardware diagnostics and data transfer. Label them clearly so you do not accidentally overwrite an important tool.
A Windows installation or recovery drive can be especially useful when a machine will not boot. See PC Won’t Boot? Step-by-Step Diagnostic Checklist.
16. External SSD or Hard Drive
A portable drive gives you space to copy user data before risky repairs, create images or move large files off a failing computer. Treat it as a working tool, not the only backup of irreplaceable files.
17. USB-to-SATA Adapter
A USB-to-SATA adapter lets you connect a 2.5-inch SATA SSD or hard drive externally for cloning, testing or data recovery. Desktop 3.5-inch drives need an adapter with its own power supply.
18. NVMe USB Enclosure
For modern M.2 NVMe drives, an external enclosure can help with cloning and file recovery. Confirm whether the drive is NVMe or M.2 SATA because not every enclosure supports both protocols.
Our SSD Buying Guide explains the difference.
19. Multimeter
A digital multimeter is useful for technicians who understand basic electrical measurements. It can help test batteries, power rails, adapters and continuity.
Do not probe a live power supply or mains-voltage circuit unless you are trained to do so. PC power supplies can contain dangerous voltages even after being unplugged.
20. PSU Tester
A dedicated ATX power-supply tester provides a simple check of common PSU rails and power-good signals. It does not prove that a supply remains stable under full load, but it is useful for basic screening.
21. Known-Good Spare Components
For frequent troubleshooting, known-good RAM, a SATA SSD, compatible power supply, keyboard, mouse and cables can be more useful than sophisticated diagnostic tools. Swapping one verified part at a time helps isolate faults.
22. Ethernet Cable and USB Ethernet Adapter
A known-good Ethernet cable and adapter let you separate Wi-Fi problems from internet or operating-system issues. This is useful when troubleshooting network connectivity.
23. Cable Ties
Reusable hook-and-loop ties help restore cable routing after repairs without making future service difficult. Avoid overtightening cables or blocking fans and vents.
24. Notebook or Phone Camera
Take photos before disconnecting unusual cables or removing several different screw types. A quick reference image can prevent reassembly mistakes.
25. Manufacturer Service Manual
This is technically information rather than hardware, but it is one of the most valuable repair tools. Service manuals can show screw locations, disassembly order, supported upgrades and connector handling.
Tools Home Technicians Usually Do Not Need
- Expensive soldering stations for basic component replacement.
- Board-level microscopes unless you are doing electronics repair.
- Chip programmers without a specific firmware-repair workflow.
- Large collections of proprietary tools before a job actually requires them.
- Registry cleaners or ‘PC repair’ software sold as a substitute for diagnosis.
Basic Home PC Repair Kit
| Tool | Why It Matters |
|---|---|
| Precision + #2 Phillips screwdrivers | Opening laptops and desktops |
| Plastic spudger/picks | Safe case opening |
| ESD strap | Static protection |
| Flashlight | Connector and label visibility |
| Parts organizer | Screw management |
| Compressed air/duster | Cooling maintenance |
| USB recovery drives | Windows and diagnostics |
| External storage + adapters | Backup, cloning and recovery |
Repair Safely
- Back up important data before invasive work.
- Shut down the computer completely.
- Disconnect AC power and removable peripherals.
- Follow battery-disconnect procedures on laptops when service documentation provides them.
- Use ESD precautions.
- Never force a connector.
- Keep screws organized.
- Test after each major change rather than changing several components at once.
Know When to Stop
DIY repair makes sense for RAM, storage, fans, batteries on serviceable models, cable replacement and normal cleaning. Stop when the repair involves swollen batteries, damaged mains power, liquid corrosion across the motherboard, soldered components or anything beyond your electrical experience.
Bottom Line
A home PC repair toolkit does not need to be huge. Good screwdrivers, safe opening tools, static protection, cleaning equipment, organized diagnostic media and a few adapters cover most normal upgrades and troubleshooting. Build the toolkit around jobs you actually perform and add specialty tools only when a specific repair justifies them.