Some links on PCFix411 may earn a commission from GearReady, software partners, or Amazon Associates at no extra cost to you.
A good video-call setup does not require a studio full of expensive gear. For most people, the biggest gains come from fixing three things in the right order: audio, lighting, then camera quality. If your voice is clear, your face is evenly lit and your camera sits at eye level, you can look more professional on Zoom, Microsoft Teams, Google Meet, interviews, client calls and online training without turning your desk into a production set.
This guide walks through the practical choices that matter, what to skip, and how to build a setup that can grow with you.
Start With Audio Before Buying a Better Camera
People will tolerate average video much longer than bad audio. A built-in laptop microphone can work in a quiet room, but it often picks up keyboard noise, fan noise, room echo and other sounds. A dedicated USB microphone or a good headset can make a larger difference than moving from a basic webcam to an expensive 4K model.
For everyday calls, look for a microphone that is easy to position 6 to 18 inches from your mouth. USB microphones are the simplest choice for a desk. A headset is better when you need privacy or work in a noisy room. Wireless lavalier microphones can be useful if you move around during presentations.
If you expect to record podcasts, YouTube videos or livestreams later, it can make sense to choose a microphone that works with both USB and XLR so you have an upgrade path.
Choose a Webcam Based on Lighting and Framing, Not Just Resolution
Resolution is only part of image quality. A well-lit 1080p webcam can look better than a poorly lit 4K webcam. For normal video calls, 1080p is usually enough. A 4K webcam becomes more useful when you want room to crop the image, record higher-resolution content, or reuse the camera for streaming and production.
Prioritize autofocus that does not constantly hunt, useful low-light performance, a field of view that fits your desk, and a mounting system that holds the camera at eye level. If you sit close to the monitor, a very wide field of view can make the room look distorted. For one person at a desk, a moderate field of view usually looks more natural.
Lighting Is the Cheapest Way to Look Better
The easiest improvement is to face a window instead of putting the window behind you. When natural light is inconsistent, add a small LED light or ring light just above and slightly to one side of your camera. The goal is not dramatic studio lighting. The goal is even light across your face without harsh shadows or glare on glasses.
A dimmable bi-color light is especially useful because you can match warmer household lighting or cooler daylight. Avoid placing a bright uncovered lamp directly behind the camera at full power; it can create eye strain and make your face look flat.
Put the Camera at Eye Level
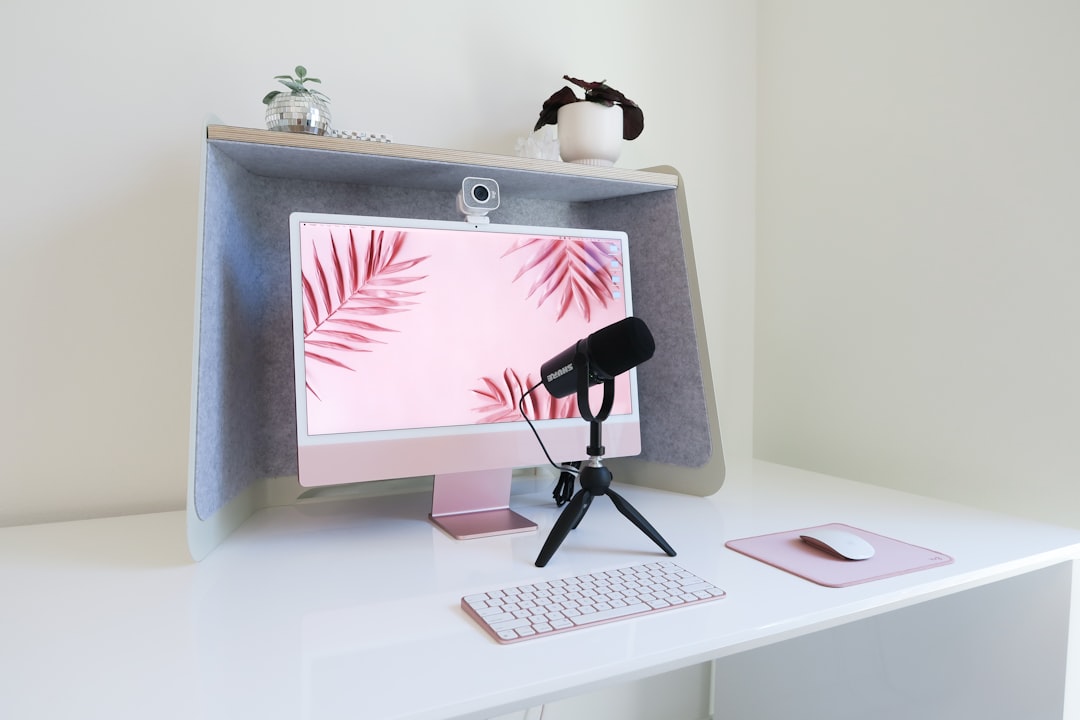
Camera position matters more than many people realize. A laptop sitting flat on a desk often points upward, which creates an unflattering angle and shows too much ceiling. Raise the laptop on a stand or place the webcam near the top center of your monitor. Position the lens roughly at eye level and about an arm’s length away.
Frame yourself from roughly mid-chest upward and leave a small amount of space above your head. Keep the background simple. You do not need a perfectly staged office, but remove visual clutter that pulls attention away from you.
Three Practical Setup Levels
Basic: Improve What You Already Own
- Existing laptop or monitor camera
- Wired headset or existing earbuds with microphone
- Window light or desk lamp aimed indirectly
- Laptop stand or a stack of books to raise the camera
This is the right starting point if you only make occasional calls. Spend nothing until you identify the actual weak point.
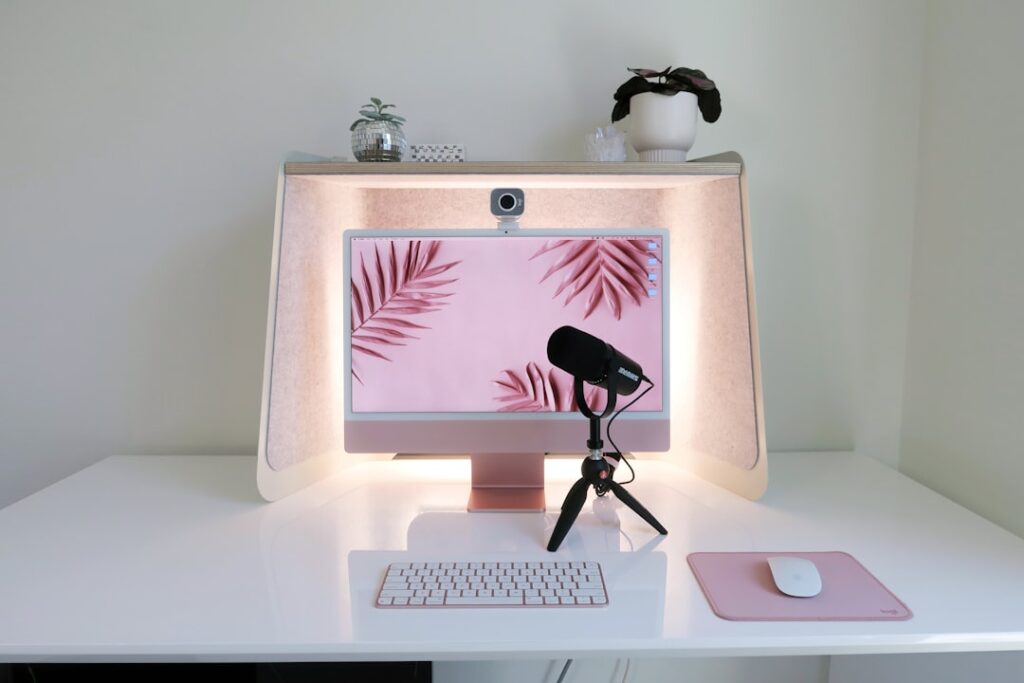
Better: Dedicated Webcam + USB Microphone + LED Light
- 1080p autofocus webcam
- USB desktop microphone or quality headset
- Dimmable LED light or ring light
- Simple webcam mount, boom arm or monitor mount
This level is a strong fit for remote work, interviews, client meetings, online classes and regular video calls.
Creator-Ready: Build for Calls and Content
- Higher-quality 1080p60 or 4K webcam
- USB/XLR dynamic microphone
- Boom arm and shock-resistant mounting
- Two-point or adjustable LED lighting
- Optional capture card, mixer or background system
This makes sense when the same desk also supports YouTube, podcasting, livestreaming or recorded training.
What to Buy First
If your budget is limited, upgrade in this order:
- Microphone or headset if people struggle to hear you.
- Lighting if your picture looks dark, grainy or washed out.
- Camera positioning using a stand or monitor mount.
- Webcam if the built-in camera still looks poor after lighting is fixed.
This order avoids wasting money on a camera that cannot overcome bad lighting or distracting audio.
Match Gear to the Job
For business meetings, prioritize reliability and simplicity. For streaming or recording, prioritize flexible mounting, audio expansion and lighting control. A person who only attends Teams calls does not need the same equipment as someone recording tutorials every week.
PCFix411’s Home Office & Business Tech section covers the broader workspace. If you are building a creator-capable setup, GearReady’s live Content Creator & Streaming Rigs collection currently carries webcams, microphones, lighting, capture gear and related production accessories. For a more audio- and recording-focused setup, browse the Home Studio Gear collection.
Final Checklist Before Your Next Call
- Camera at eye level
- Face lit from the front or front-side
- Microphone close enough for clear speech
- Background free of obvious clutter
- Notifications muted
- Camera and microphone selected correctly in the meeting app
- Internet connection tested before an important call
A professional video-call setup is mostly about eliminating distractions. Clear audio, controlled lighting and sensible framing deliver the biggest return. Add more advanced equipment only when your work actually requires it.