Some links on PCFix411 may earn a commission from GearReady, software partners, or Amazon Associates at no extra cost to you.
When a PC will not boot, the fastest way to solve the problem is to stop guessing and identify exactly where startup is failing. A computer that shows no power at all needs a different troubleshooting path from one that powers on but never reaches Windows.
This checklist walks through the problem in order, starting with the safest and easiest checks before moving into recovery tools and hardware diagnostics.
First, identify what “won’t boot” actually means
Before changing anything, watch what the computer does when you press the power button. Put the failure into one of these groups:
- No power: no lights, fans, sound or response.
- Power but no display: lights or fans turn on, but the screen stays black.
- POST or firmware problem: the PC shows a manufacturer logo, error code, beep pattern or firmware screen but does not continue.
- Windows starts loading but fails: you see the Windows logo, spinning dots, Automatic Repair, a blue screen or repeated restarts.
- Windows loads but the desktop never becomes usable: sign-in loops, black desktop, freezing or immediate crashes.
That classification matters because it tells you whether to focus on power, display, hardware, storage or Windows itself.
1. Check power before opening the computer
If the PC appears completely dead, begin outside the computer. Confirm the wall outlet or surge protector works, reseat the power cable, and make sure a desktop power supply switch is in the on position. On a laptop, disconnect the charger, wait a few seconds, reconnect it and look for a charging indicator.
If you use a docking station, USB-C hub or third-party power adapter, temporarily remove it and connect the computer directly to its normal power source. A failed accessory can make a healthy computer look dead.
For a desktop, also check that the monitor is powered separately. A black monitor is not the same thing as a computer with no power.
2. Remove external devices
Disconnect nonessential USB devices, external drives, memory-card readers, printers, game controllers, docking stations and other accessories. Leave only the display, keyboard and mouse connected if possible.
A bad USB device or external drive can interrupt startup, change the boot order or hang firmware detection. If the PC starts normally after removing everything, reconnect devices one at a time until the problem returns.
3. If the PC has power but no picture, isolate the display
Listen for fans, startup sounds or notification tones. Check whether the monitor says “No Signal.” Verify that the monitor input matches the cable you are using, such as HDMI or DisplayPort.
On a desktop with a dedicated graphics card, make sure the display cable is connected to the graphics card rather than an unused motherboard video port. If possible, test another cable, another monitor or another port.
On a laptop, increase brightness and try an external monitor if one is available. If the external display works, the problem may be limited to the laptop panel, display cable or backlight rather than Windows.
4. Watch for POST errors and firmware clues
Most PCs perform a Power-On Self-Test before loading Windows. Beep codes, flashing LEDs, diagnostic numbers or messages such as “No boot device” can narrow the problem quickly.
If you recently installed RAM, a graphics card, storage or another component, recheck that change first. A partially seated memory module or cable is more likely than several unrelated components failing at the same time.
If you are comfortable working inside a desktop, power it off, unplug it and discharge residual power before reseating components. If you are not comfortable opening the computer, stop at this point and use a qualified repair technician.
5. Confirm the system drive is detected
Enter the computer’s UEFI or BIOS setup and look for the SSD or hard drive that contains Windows. The exact key varies by manufacturer, but common startup keys include Delete, F2, F10 and F12.
If the drive is missing from firmware, Windows recovery tools will not solve the underlying problem. Check the drive connection on a desktop, or use the manufacturer’s hardware diagnostics. A missing or intermittently detected drive can indicate a failed SSD, damaged connector or motherboard issue.
If the drive is visible, confirm that Windows Boot Manager or the correct system drive is near the top of the boot order.
6. Use Windows Recovery Environment
If the computer reaches Windows startup but repeatedly fails, use Windows Recovery Environment. It may appear automatically after repeated unsuccessful starts. You can also boot from Windows installation or recovery media and choose the repair option instead of installing Windows.
Useful recovery choices include:
- Startup Repair for common boot-file and startup problems.
- Startup Settings for Safe Mode and other diagnostic startup modes.
- System Restore if a recent driver, update or system change caused the failure and restore points are available.
- Uninstall Updates when the failure began immediately after a Windows update.
- Command Prompt for advanced repair work when you know exactly what you are changing.
Do not jump directly to resetting or reinstalling Windows. Those are later-stage options, especially when important files are not backed up.
7. Try Safe Mode
If Windows can start in Safe Mode, the core operating system is usually still functional. That shifts attention toward startup software, drivers, malware, recent updates or third-party services.
In Safe Mode, remove recently installed software or drivers, check Device Manager for obvious hardware problems, and review what changed immediately before the failure began.
If the computer had been slow or unstable before it stopped booting, also review our guide on speeding up a slow Windows 11 PC.
8. Check storage health before reinstalling Windows
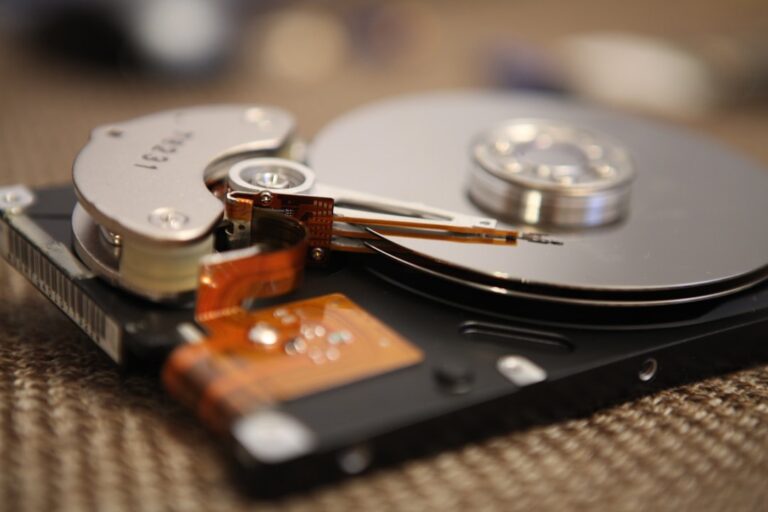
A failing system drive can cause slow startup, freezing, Automatic Repair loops, file corruption and eventually a complete boot failure. If you can reach recovery tools, another computer or the drive manufacturer’s diagnostics, check the drive before investing time in a clean Windows installation.
If the drive reports serious health errors or disappears intermittently, prioritize data recovery and replacement. Repeated repair attempts can waste time when the real problem is failing hardware.
9. Consider memory and overheating problems
Bad RAM can cause boot loops, blue screens, freezes and unpredictable startup failures. If your PC has multiple memory modules and you are comfortable servicing the machine, testing one module at a time can help isolate a bad stick or slot.
Overheating can also cause sudden shutdowns or repeated restarts. Check that fans spin normally and that vents are not blocked with dust. Do not run a desktop with loose components or a laptop with cooling hardware removed.
10. If Windows starts after repairs, do these checks immediately
Once the PC boots again, do not assume the job is finished. Check Windows Update, Device Manager, storage free space and system reliability. Make a current backup while the machine is working.
Run a malware scan if the failure was accompanied by suspicious pop-ups, browser changes, unknown software or security warnings. Our Windows 11 malware and ransomware protection guide covers the basic protection steps.
When should you stop troubleshooting and get professional help?
Stop and seek repair help when you smell burning, see liquid damage, hear repeated mechanical clicking from an older hard drive, find visibly damaged components, or suspect a power-supply or motherboard fault. Those problems are not good candidates for repeated power cycling.
You should also be cautious when the computer contains irreplaceable files. Data recovery may be more important than getting Windows to boot immediately.
Quick PC-won’t-boot checklist
- Confirm power and charging.
- Disconnect nonessential external devices.
- Test the display, cable and input.
- Look for POST, beep or diagnostic codes.
- Confirm the system drive appears in UEFI/BIOS.
- Use Windows Startup Repair or Safe Mode.
- Check recent updates, drivers and software.
- Test storage and memory if symptoms point to hardware.
- Back up important files as soon as the machine becomes accessible.
- Escalate hardware or data-recovery problems instead of repeatedly forcing restarts.
The key is to diagnose the stage at which startup fails. That prevents random fixes and helps you separate a Windows problem from a display, storage, memory or power problem.
For more practical troubleshooting, browse PCFix411 Windows & PC Troubleshooting.
Featured and in-article photography: Devin Pickell / Unsplash.